import torch
model = torch.hub.load('pytorch/vision:v0.10.0', 'deeplabv3_resnet50', pretrained=True)
# 또는 아래 중 하나
# model = torch.hub.load('pytorch/vision:v0.10.0', 'deeplabv3_resnet101', pretrained=True)
# model = torch.hub.load('pytorch/vision:v0.10.0', 'deeplabv3_mobilenet_v3_large', pretrained=True)
model.eval()
사전 훈련된 모든 모델들은 동일한 방식으로 정규화된 입력 이미지를 기대합니다.
즉, (N, 3, H, W) 모양의 3채널 RGB 이미지의 미니 배치, 여기서 N 은 이미지의 개수, H 와 W은 각각 최소 224 픽셀들로 이루어진 것으로 기대합니다.
이미지는 [0, 1] 범위로 로드한 다음 mean = [0.485, 0.456, 0.406] 과 std = [0.229, 0.224, 0.225]
를 사용하여 정규화를 진행합니다.
모델은 입력 Tensor와 높이와 너비가 같지만 21개의 클래스가 있는 두 개의 텐서가 있는 OrderedDict를 반환합니다.
output['out'] 의미론적 마스크를 포함하고 있고, output['aux']에는 픽셀 당 보조 손실(auxiliary loss) 값을 포함하고 있습니다. 추론 모드에서는, output['aux']는 유용하지 않습니다.
따라서, output['out']은 (N, 21, H, W)과 같은 모양을 가집니다. 좀 더 자세한 정보는 이곳에서 확인할 수 있습니다.
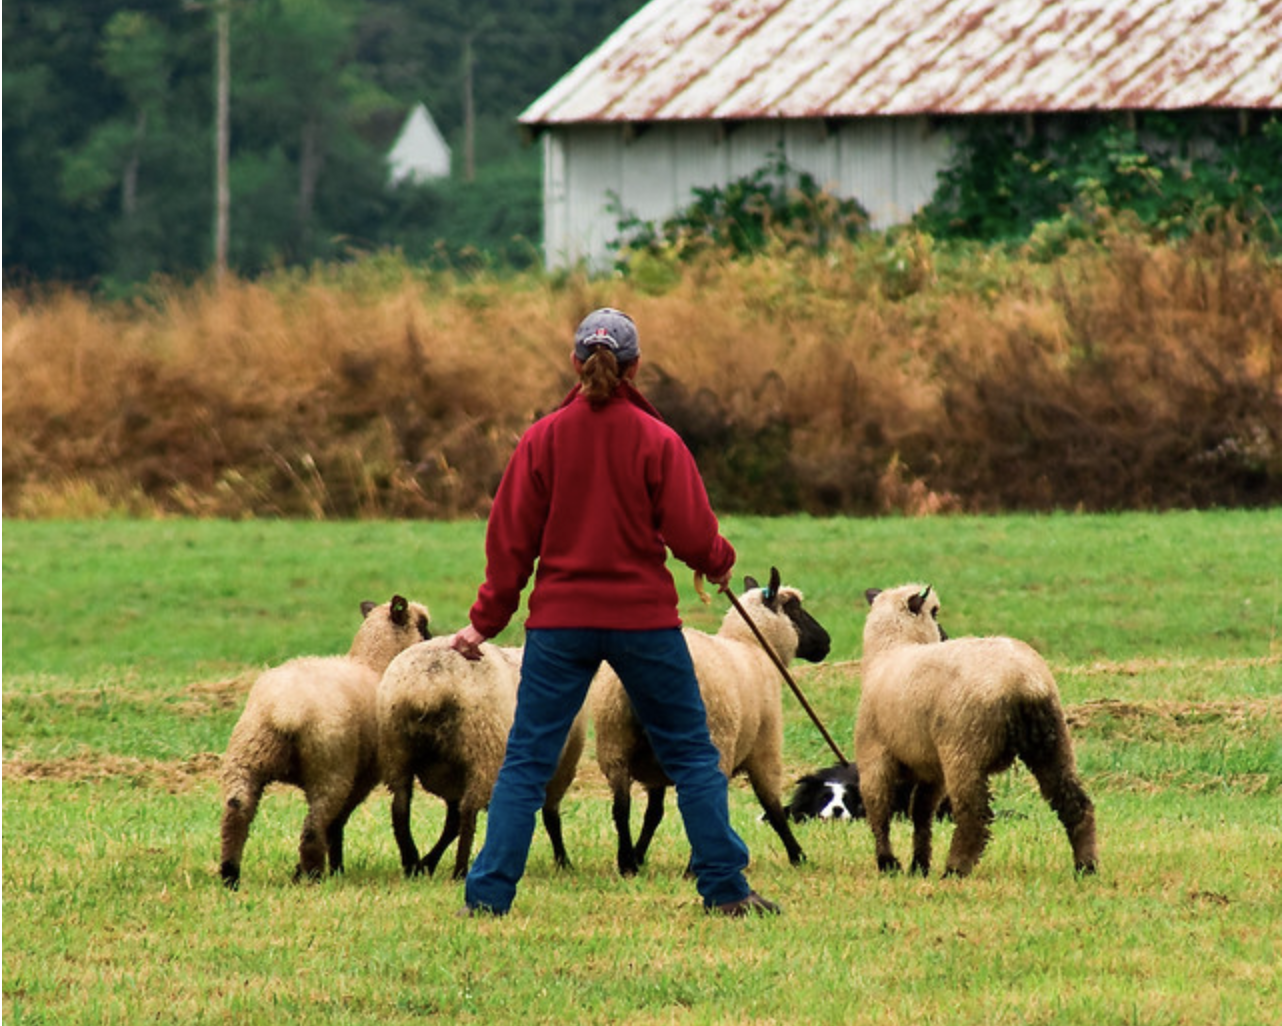
# 파이토치 웹사이트에서 예시 이미지를 다운로드합니다.
import urllib
url, filename = ("https://github.com/pytorch/hub/raw/master/images/deeplab1.png", "deeplab1.png")
try: urllib.URLopener().retrieve(url, filename)
except: urllib.request.urlretrieve(url, filename)
# 샘플을 실행합니다. (torchvision이 필요합니다.)
from PIL import Image
from torchvision import transforms
input_image = Image.open(filename)
input_image = input_image.convert("RGB")
preprocess = transforms.Compose([
    transforms.ToTensor(),
    transforms.Normalize(mean=[0.485, 0.456, 0.406], std=[0.229, 0.224, 0.225]),
])

input_tensor = preprocess(input_image)
input_batch = input_tensor.unsqueeze(0) # 모델이 원하는 미니 배치를 만듭니다.

# 가능한 경우 속도를 빠르게 하기 위해 입력 및 모델을 GPU로 이동합니다.
if torch.cuda.is_available():
    input_batch = input_batch.to('cuda')
    model.to('cuda')

with torch.no_grad():
    output = model(input_batch)['out'][0]
output_predictions = output.argmax(0)
여기서 출력은 (21, H, W) 형태이며, 각 위치에서는 클래스마다 예측에 해당하는 정규화되지 않은 확률이 있습니다.
각 클래스의 최대 예측값을 얻은 다음 다운스트림 작업에 사용하려면, output_predictions = output.argmax(0)를 수행합니다.
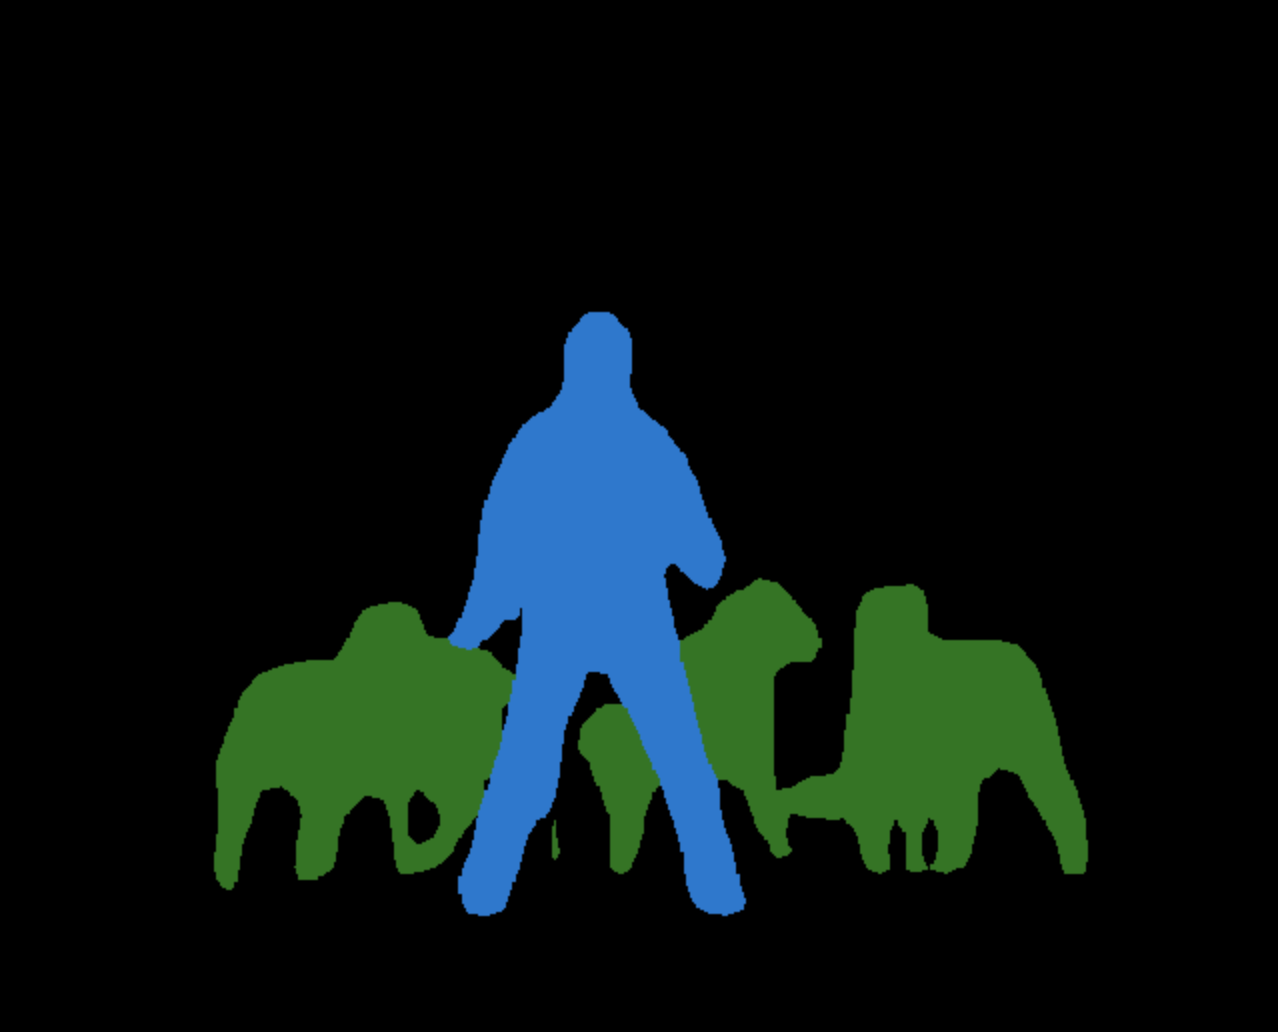
다음은 각각 클래스마다 색상이 할당된 예측을 나타내는 작은 조각입니다.
# 색상 팔레트를 만들고 각 클래스의 색상을 선택합니다.
palette = torch.tensor([2 ** 25 - 1, 2 ** 15 - 1, 2 ** 21 - 1])
colors = torch.as_tensor([i for i in range(21)])[:, None] * palette
colors = (colors % 255).numpy().astype("uint8")

# 각 색상에서 21개 클래스의 의미론적 분할 예측을 플로팅합니다.
r = Image.fromarray(output_predictions.byte().cpu().numpy()).resize(input_image.size)
r.putpalette(colors)

import matplotlib.pyplot as plt
plt.imshow(r)
# plt.show()
모델 설명
Deeplabv3-ResNet은 ResNet-50 또는 ResNet-101 백본이 있는 Deeplabv3 모델로 구성되어 있습니다. Deeplabv3-MobileNetV3-Large는 MobileNetV3 large 백본이 있는 DeepLabv3 모델로 구성되어 있습니다. 사전 훈련된 모델은 Pascal VOC 데이터 세트에 있는 20개 카테고리에 대해 COCO train2017의 일부분 데이터 셋에 대해 훈련되었습니다.
COCO val2017 데이터 셋에서 평가된 사전 훈련된 모델의 정확도는 다음과 같습니다.
| Model structure | Mean IOU | Global Pixelwise Accuracy |
|---|---|---|
| deeplabv3_resnet50 | 66.4 | 92.4 |
| deeplabv3_resnet101 | 67.4 | 92.4 |
| deeplabv3_mobilenet_v3_large | 60.3 | 91.2 |